
Introduction
In 2019, Apple introduced SwiftUI as a brand-new user interface foundation for iOS, tvOS, macOS, and watchOS. Since then, it has rapidly evolved into a new paradigm that is altering how developers view UI development for iOS apps. SwiftUI enables iOS developers to create a user interface with a single set of tools and APIs using declarative languages. Say goodbye to cumbersome UIKit code.
In contrast, storyboards, which were introduced w
ith iOS 5, save you time when you’re developing iOS applications by allowing you to create and design user interfaces in one Interface Builder, while simultaneously defining business logic. You can use storyboards to prototype and design numerous ViewController views in one file, as well as to create transitions between them.
In this article, we will compare SwiftUI and storyboards. Hint: SwiftUI is more powerful.
Imperative UI vs. Declarative UI
To understand the differences between SwiftUI and storyboards, you first need some background on the imperative and declarative programming paradigms.
Imperative UI
Prior to SwiftUI, developers had to use different frameworks to create a platform-specific application: UIKit for iOS and tvOS apps, AppKit for macOS apps, and WatchKit for watchOS apps. These three event-driven UI frameworks used the imperative programming paradigm, which involves prototyping or modeling the UI application design. In imperative programming, you define the actions that modify the state of the machine, focusing on the “how,” rather than the “what.”
For example, if you want to create a login form screen using a storyboard, your storyboard source code will look like this:

Figure 1: XML file of login form with a storyboard
The XML file of the storyboard is quite messy, so you need Interface Builder to “translate” the XML file to be more readable for the developers. Here is a screenshot of the storyboard’s Interface Builder for the login form screen:

Figure 2: Interface Builder for the login form
After finishing the UI of the application in the storyboard, you also need to define the business logic in the ViewController file. This is how it looks:
import UIKit

class ViewController: UIViewController {

    @IBOutlet weak var email: UITextField!
    @IBOutlet weak var password: UITextField!
    @IBOutlet weak var loginButton: UIButton!

    override func viewDidLoad() {
        super.viewDidLoad()

        loginButton.isEnabled = false

        email.addTarget(self,
                        action: #selector(onTextFieldChanged),
                        for: .editingChanged)

        password.addTarget(self,
                        action: #selector(onTextFieldChanged),
                        for: .editingChanged)
    }

    @objc func onTextFieldChanged(_ sender: UITextField) {
        sender.text = sender.text?.trimmingCharacters(in: .whitespaces)

        guard email.hasText, password.hasText else {
            loginButton.isEnabled = false
            return
        }

        loginButton.isEnabled = true
    }

    @IBAction func loginPressed(_ sender: Any) {
        // do some login action here
    }

}
Declarative UI
SwiftUI implements the declarative programming paradigm. Unlike imperative programming, declarative programming allows you to define your programs (what they should do and look like in different states), then let them manage shifting between those states. Declarative programming focuses on the “what,” rather than “how” a code is running.
Using SwiftUI, you only need to define what your application looks like inside the ContentView file:
import SwiftUI

struct ContentView: View {
    @State var email: String = ""
    @State var password: String = ""

    var body: some View {

        VStack {
            Spacer().frame(height: 32)

            Image("shipbook-logo-circle")

            Spacer()

            HStack {
                Text("Email")
                    .frame(width: 80, alignment: .leading)

                TextField("[email protected]", text: $email)
                    .keyboardType(.emailAddress)
                    .textFieldStyle(.roundedBorder)
            }

            HStack {
                Text("Password")
                    .frame(width: 80, alignment: .leading)

                SecureField("password", text: $password)
                    .textFieldStyle(.roundedBorder)
            }

            Spacer()

            Button {
                // do some login action here
            } label: {
                Text("Login")
                    .frame(maxWidth: .infinity)
            }
            .disabled(email.isEmpty || password.isEmpty)
            .buttonStyle(.borderedProminent)
            .frame(height: 48)
            .padding(.bottom, 32)
        }
        .padding(.horizontal, 32)
    }
}

struct ContentView_Previews: PreviewProvider {
    static var previews: some View {
        ContentView()
    }
}
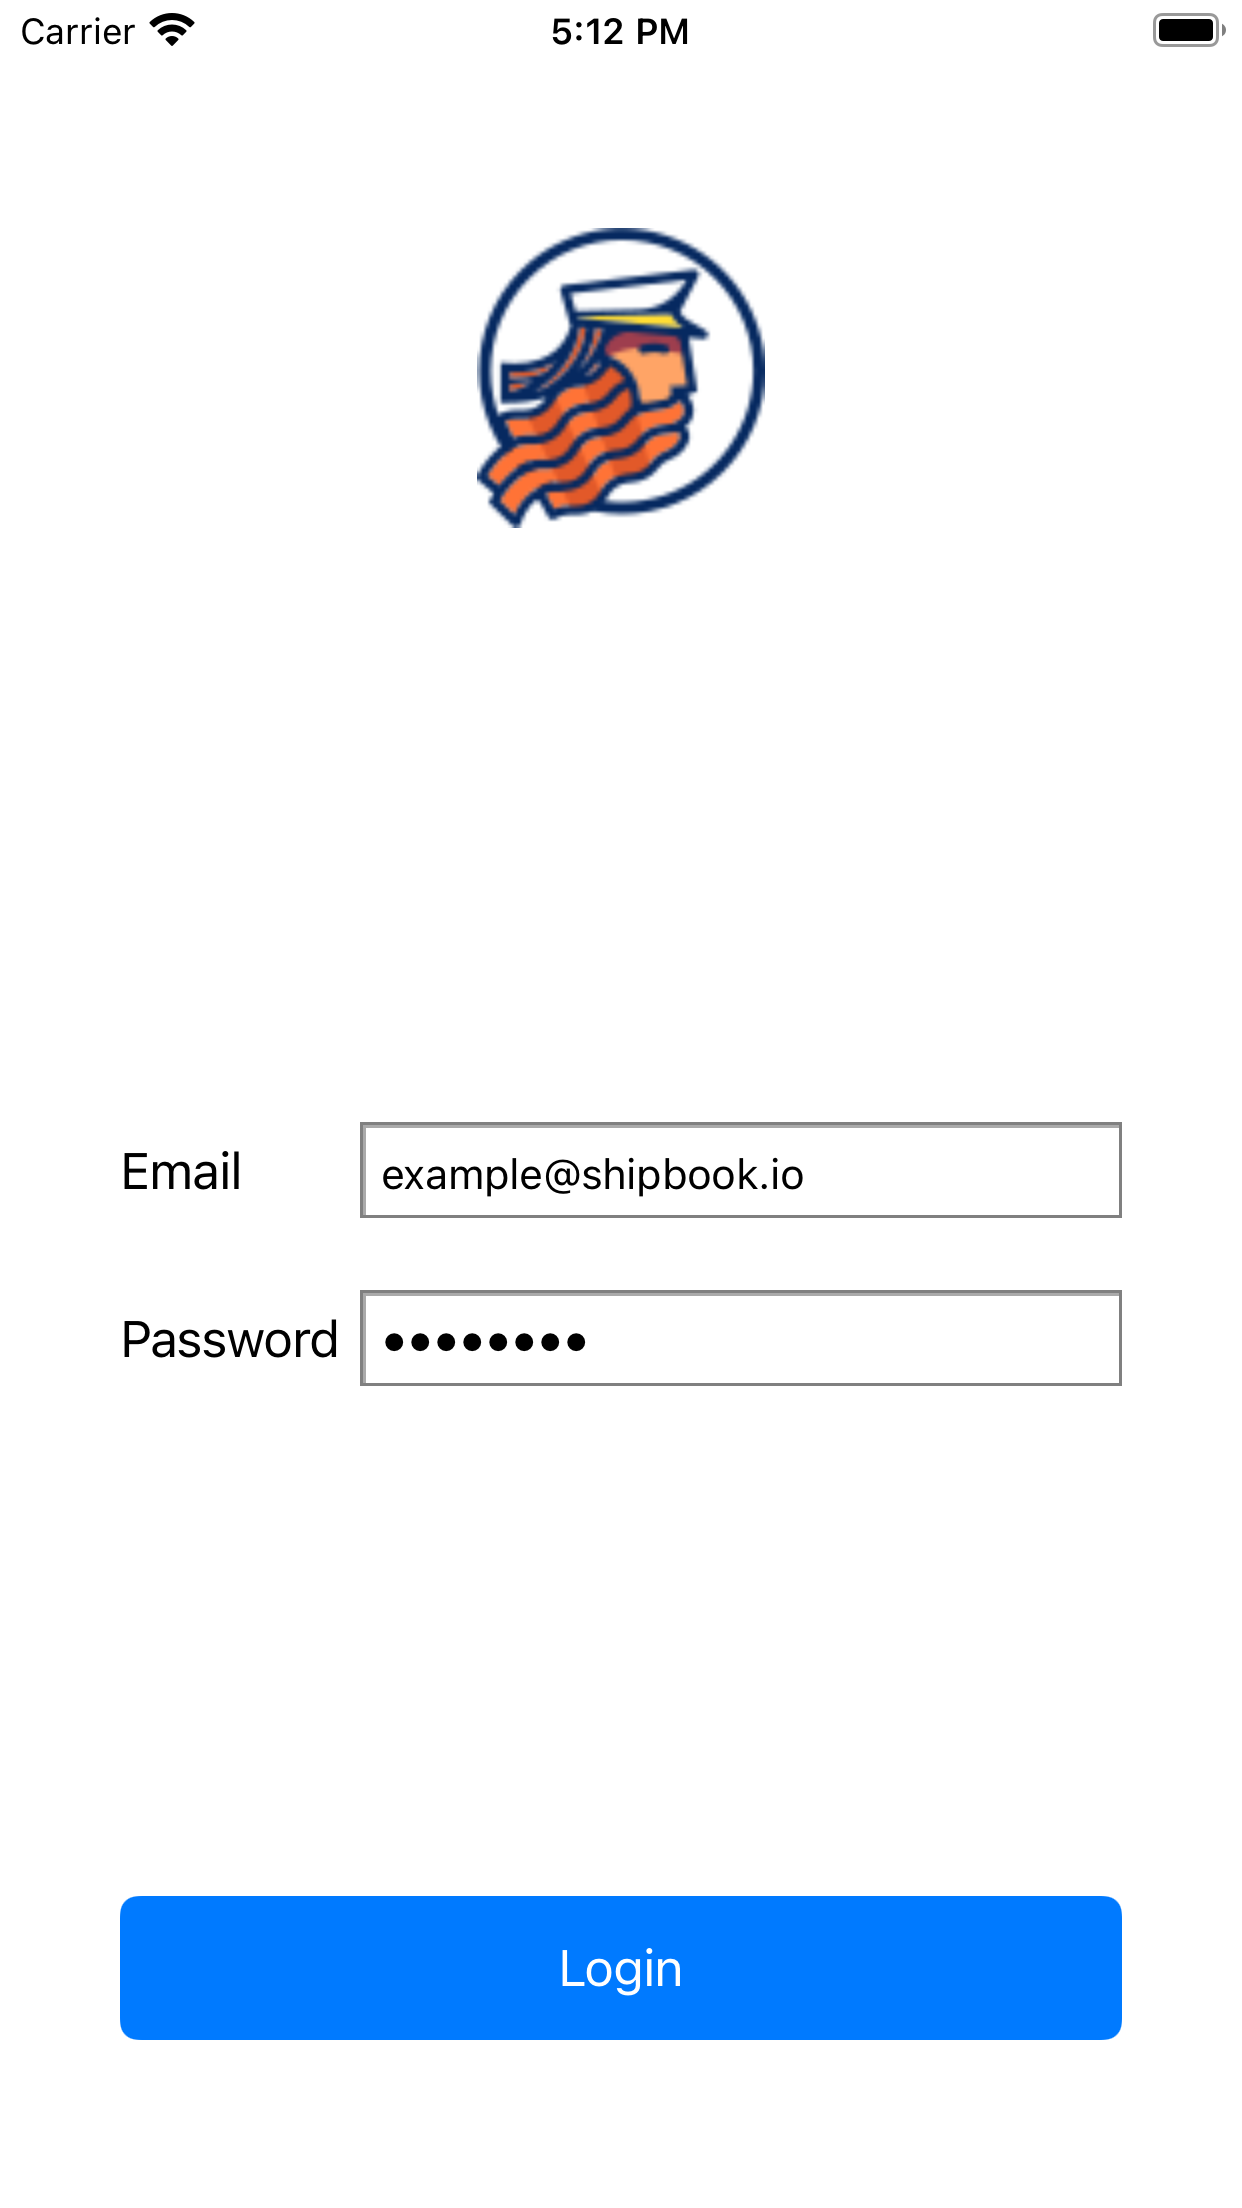
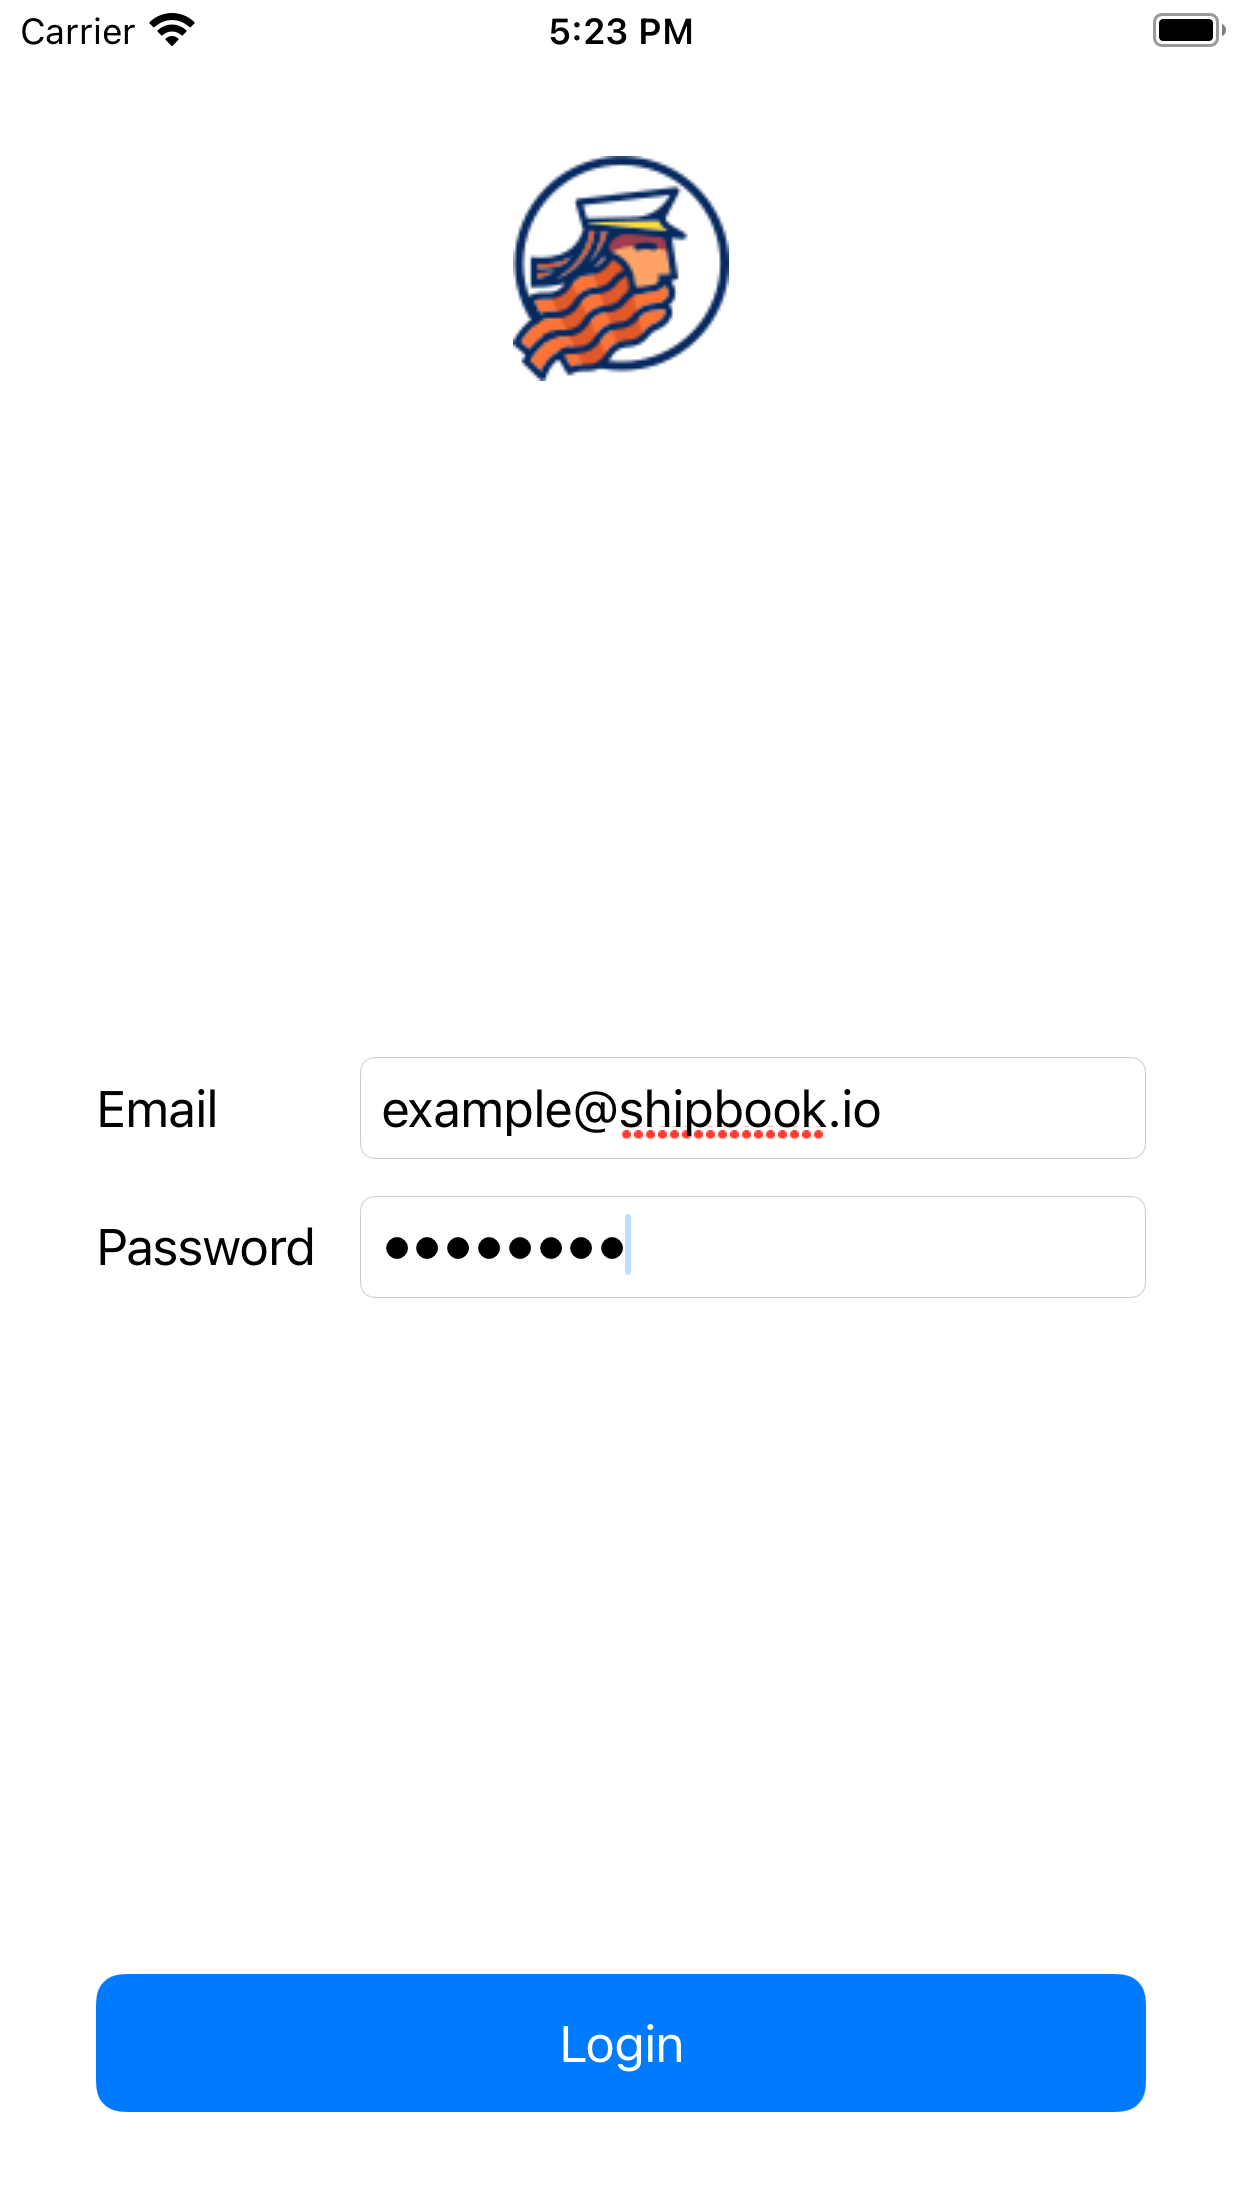
Figure 3: Comparing the UI of a storyboard (left) and SwiftUI (right)
Framework Support
Here is a summary of what each framework supports:
| UIKit (Storyboard) | SwiftUI | |
| Platform Support | iOS and tvOS only | iOS, tvOS, macOS, and watchOS (all platforms) |
| Minimal Version Support | iOS 5.0 | iOS 13.0 and Xcode 11 |
| Paradigm | Imperative | Declarative |
| View Hierarchy | Allowed to be examined | Not allowed to be examined |
| Live Preview | Not provided; only canvas in Interface Builder | Provided with hot reload |
No More Interface Builder in SwiftUI
Prior to SwiftUI, when developers only used Storyboard, they would create a user interface in Interface Builder and produce .storyboard and .xib files in XML format. Interface Builder uses drag-and-drop gestures to add objects into the canvas. After you move objects and position them in the canvas, you also need to connect it to your code, which is written in another file using @IBOutlet and @IBAction. Finding the correct button to create the interface can be confusing because there are so many options.

Figure 4: Interface Builder (Source: https://developer.apple.com/)
Design Tools and Live Preview
One of SwiftUI’s most helpful design tools is Live Preview. This is a progressive method of designing, building, and testing the outcome of the application interface in real time, without even running the app. With the Dynamic Replacement feature, every change made in the code will automatically recompile and update the preview screens. Xcode design tools also provide a drag-and-drop design control to arrange objects in the design canvas.

Figure 5: SwiftUI design tools and previews (Source: https://developer.apple.com/)
SwiftUI replaces storyboards with code, making it simple to construct reusable views and minimize conflicts caused by the development team's concurrent use of one project.
The Cons of SwiftUI
Since there aren’t many, let's start with SwiftUI's disadvantages:
- It is only compatible with iOS 13 and Xcode 11. By upgrading the minimum iOS version, some users will not be able to update the application.
- SwiftUI’s technical community is still not mature, so you can’t obtain much help with complex situations.
- Debugging user interfaces with SwiftUI is very hard. You cannot explore the view hierarchy in Xcode Previews because SwiftUI renders its view differently than UIKit.
The Pros of SwiftUI
Now let’s discuss SwiftUI's many positive features:
State Management and Binding
SwiftUI differs from Apple's prior UI frameworks, not just in how views and other UI components are built, but also how view-level state is handled throughout a program that utilizes it. SwiftUI provides a built-in state management function. This means that instead of delegates, data sources, or other state management patterns seen in imperative frameworks like UIKit and AppKit (i.e., a third-party framework such as RxSwift or ReSwift), SwiftUI ships with a number of property wrappers that allow you to describe exactly how your data is observed, rendered, and changed by your views.
Here are several state management functions for handling data flow in SwiftUI:
@Environment
This is a property wrapper that can be used to read the value of the view's environment given by its parent. Read more.@State
You can use this property wrapper type to read and write a value without needing to worry about its management. Read more.@Binding
This property wrapper type can read and write a value owned by a source of truth defined in other places (using@Publishedproperty wrapper). Read more.ObservableObject
A type of object has a publisher. You can listen to the publisher changes using theobjectWillChangefunction. Read more.
Mixable with UIKit
Apple added support for backward compatibility so that you can add SwiftUI to existing UIKit projects or vice versa. To be able to import SwiftUI view into UIKit, you can use UIHostingController, which will hold all of the subviews of ViewController in order to become a single SwiftUI view.
It is essential to understand that SwiftUI does not replace UIKit. Instead, SwiftUI is constructed on top of UIKIt, and gives you an extra layer of abstractions. To be able to import UIKit view inside SwiftUI, you can use UIViewRepresentable.
There are three functions you need to override in order to use this protocol:
makeUIView(:)to create and configure the initial state of object viewupdateUIView(:context:)to update the state of object view when needed by SwiftUlmakeCoordinator()to create aCoordinatorto communicate the changes of object view with other SwiftUI elements
Cross-Platform User Interface
Creating a user interface will never be easier than when using SwiftUI, since it combines and automatically translates your view into a visual interface element that is suitable for each specific platform (macOS, iOS, watchOS, tvOS, etc.).

Figure 6: View rendered for different platforms (Source: https://www.clariontech.com)
For example, as shown above, the Toggle view will look different on different platforms. SwiftUI may also change the colors, padding, and spacing, depending on the platform, container size, control status, and current screen. This ability to cross-platform build for the many operating systems inside the Apple ecosystem means there’s no need to master three distinct frameworks if you want to create an app that works on Apple Watch, Apple TV, MacBook Pro, and iPhone.
Easy-to-Add Animation
When adopting SwiftUI, you can independently animate changes to views or the state of a view, regardless of where the effects occur. SwiftUI takes care of the complexities of the animation logic (combinations, layers, and interruptible animations). You just need to call a single function, .animation(), to a view that you want to animate, add the animation logic inside of it, and, voilà, the animation is applied.
struct ContentView: View {
    // …

    @GestureState private var isDetectingPress = false

    var body: some View {

        VStack {
            Spacer().frame(height: 32)

            Image("shipbook-logo-circle")
                .scaleEffect(isDetectingPress ? 2 : 1)
                .animation(.easeInOut(duration: 4), value: isDetectingPress)
                .gesture(
                    LongPressGesture(minimumDuration: 0.1)
                        .sequenced(before:DragGesture(minimumDistance: 0))
                        .updating($isDetectingPress) { value, state, _ in
                            switch value {
                            case .second(true, nil):
                                state = true
                            default:
                                break
                            }
                        })

            Spacer()

            // …
    }
}
In the example above, you can add a long-press gesture on the Shipbook image to add scaling animation on it. You can then store the gesture state in isDetectingPress and use it as a value of the scaling effect and animation to be triggered.
When to Use Storyboards—and When Not To
So, if SwiftUI is the way of the future, why should you still use storyboards? There are a few explanations that come to mind:
- You already have a codebase written in storyboards and XIB. This likely required a lot of effort.
- You are a novice. Storyboards are a simple way to get started with iOS coding.
- Storyboards need less coding and are more aesthetically appealing. However, if your user interface grows to be very complex, storyboards can rapidly become difficult to use.
Despite these use cases, there are several disadvantages to using storyboards in iOS projects:
- Storyboards and the Interface Builder are difficult to grasp. The Interface Builder has so many tabs and buttons that it's like studying Photoshop.
- The interaction between the code and the storyboard is complicated. A string match will be used numerous times to connect your code to the storyboard.
- If you misspell or use the incorrect string, your application will crash at runtime! This is not a good experience for users or developers.
- Modifications to storyboards are hard to trace. Because storyboards aren't written in human-readable code, resolving merge conflicts is extremely difficult. In particular, this happens if you have a huge team of developers all working on the same storyboard.
Conclusion
It’s important to consider the pros and cons of the UI development framework and features that are suitable for your application. If you are creating a new application and don't care about supporting the old version of iOS, SwiftUI is the obvious choice. It’s also possible to migrate your legacy code to SwiftUI because SwiftUI can be combined with UIKit and storyboards.
Shipbook gives you the power to remotely gather, search and analyze your user logs and exceptions in the cloud, on a per-user & session basis.