
2 posts tagged with "layout"

View All Tags

· 9 min read

RecyclerView Vs ListView Introduction

RecyclerView and ListView are two popular options for displaying long lists of data within an Android application. Both are subclasses of the ViewGroup class and can be used to display scrollable lists. However, they have different features, capabilities and implementation.

The process of implementing both may seem pretty similar, for example,

  • You get list of data
  • You create an adapter
  • Find the view to which you have to display the list
  • Set the adapter to that list

ListView was one of the earliest components introduced in Android development for displaying a scrollable list of items. Although it provided basic functionality and ease of implementation, it had its limitations, especially when it came to handling large data sets and customizing the appearance and behavior of the list.

As Android applications evolved and the need for more sophisticated list management became apparent, RecyclerView was introduced as a more versatile and efficient solution for displaying lists. As a developer, it's essential to understand the key differences between ListView and RecyclerView to appreciate their respective advantages and disadvantages.

In this article, we'll explore the key differences between RecyclerView and ListView and give you a good understanding of when to use what and how and also appreciate why RecyclerView came into existence over ListView.

ListView

ListView was introduced in Android 1.0 and has been around since then. ListView was the go-to solution for displaying lists of data before RecyclerView was introduced.

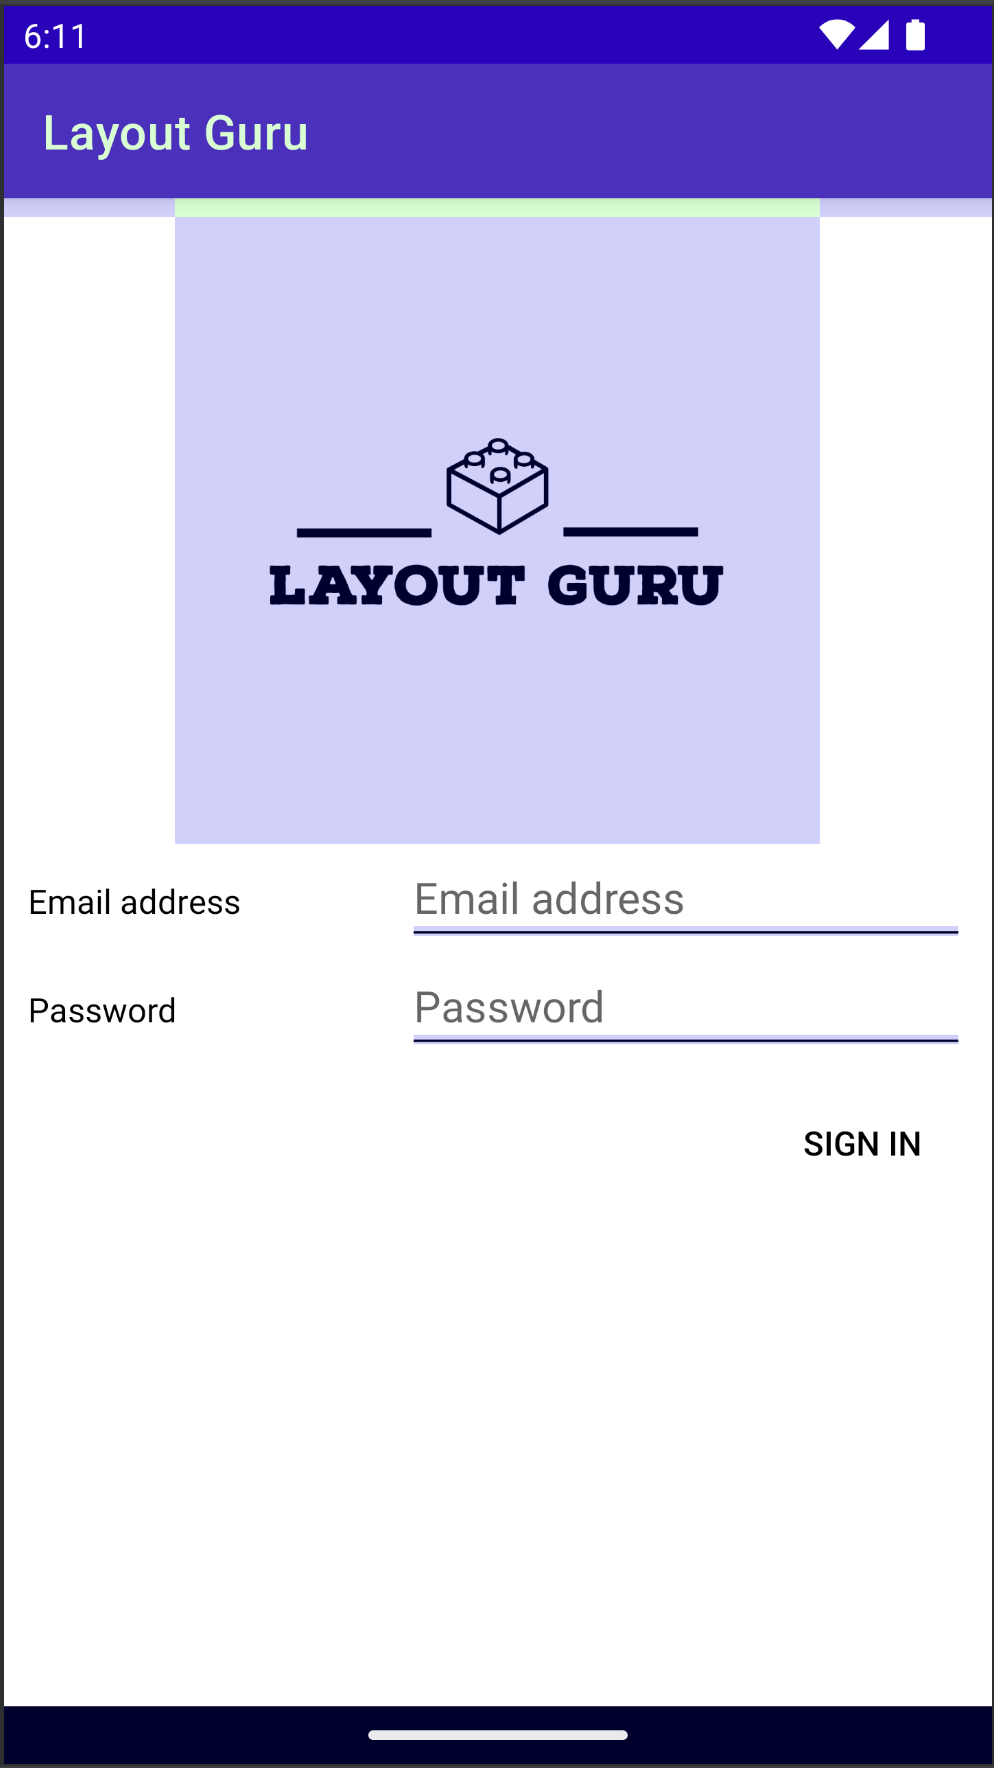
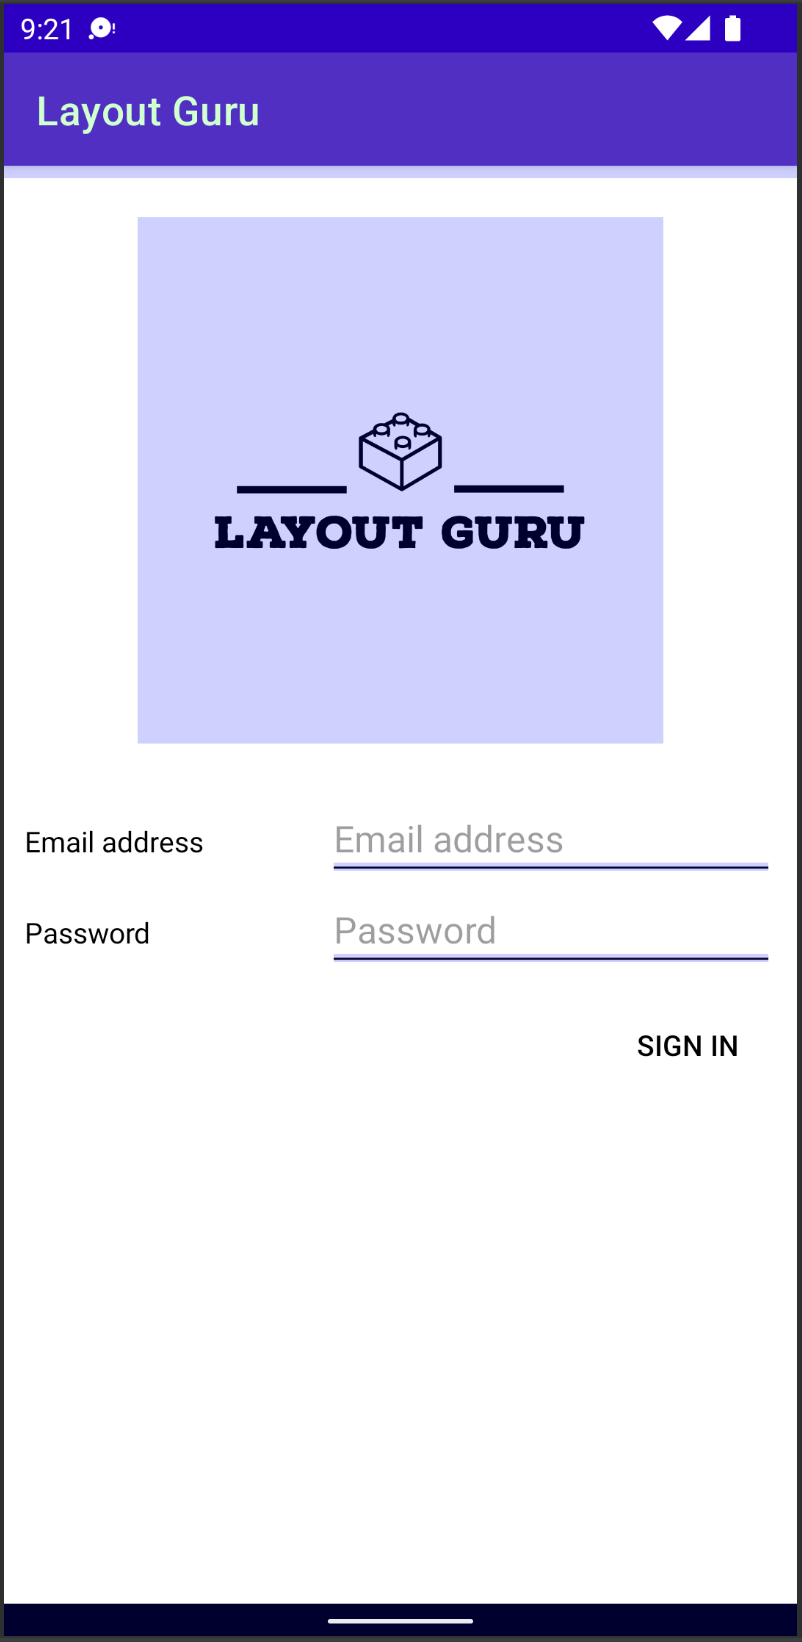
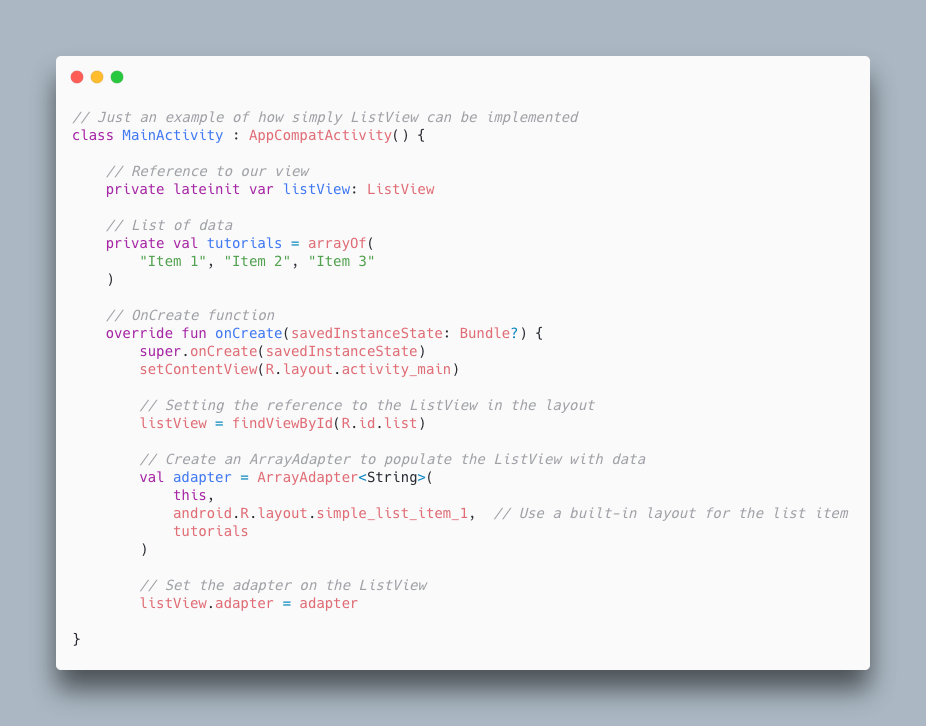
One of the biggest advantages of using a ListView is that it's simpler to implement, easier to use. Here is an example of how simply ListViews can be implemented in Android.

main activity

Link to snippet

As you can see, the code is pretty simple and straight-forward compared to the RecyclerView implementation one has to do by implementing custom adapter and viewholder classes.

If you ask any Android Developer about the difference between the two they would say something like “ListView is still available and can be a good solution for displaying smaller lists of data. But, as the complexity of the app increases, the ListView might not be the best solution for managing and displaying large amounts of data.” Let’s try to understand why?

To implement anything a little more complex than just a simple list of Strings, it’s a good practice to write our own Adapter class whose responsibility is to map the data to the positioned view as we scroll through the list.

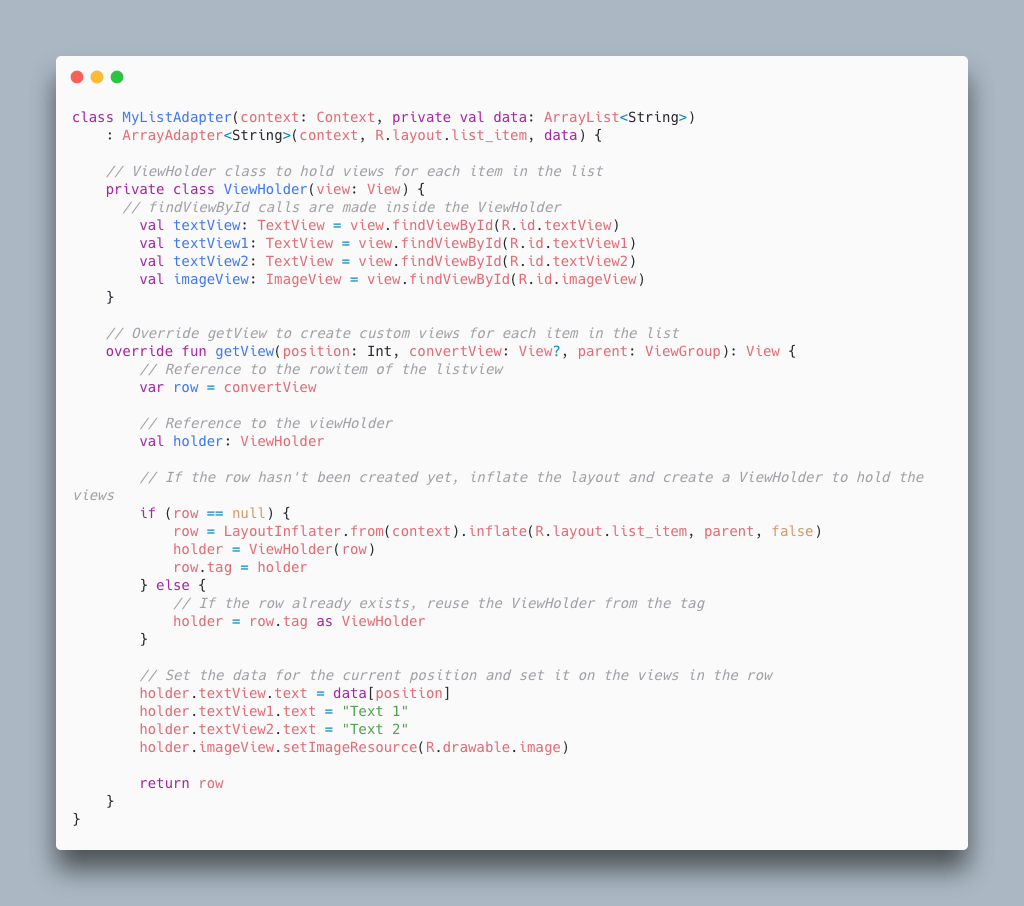
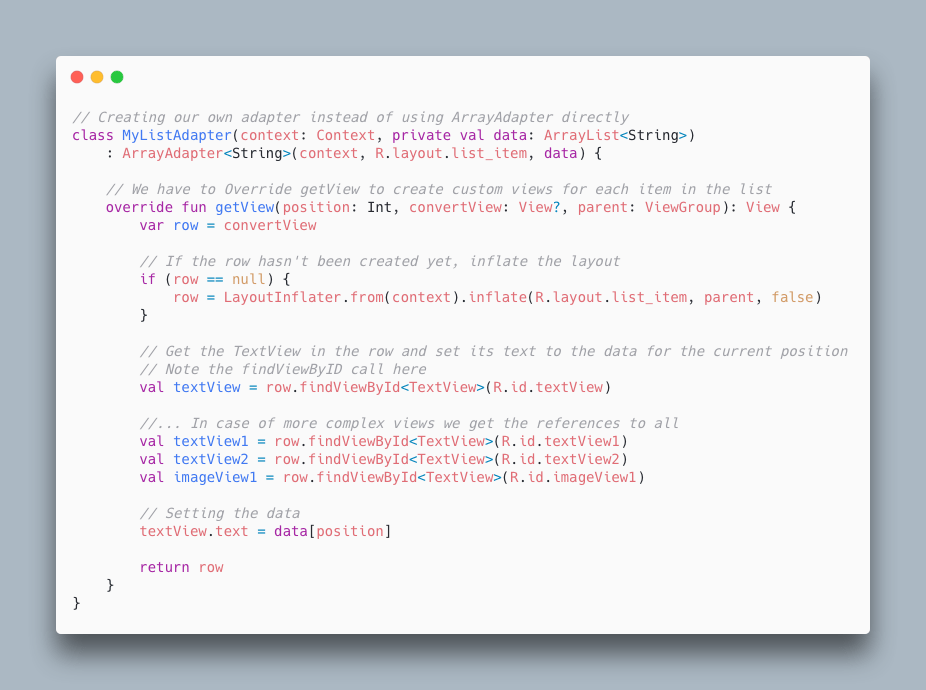
Let’s write our own adapter class instead of a simple ArrayAdapter for the above snippet.

list adapter

Link to snippet

The getView function on a high level does the following:

  • Gets each view item from the listview
  • Find references to its child views
  • Sets the correct data to those views depending upon the position
  • Returns the created view item.

For each row item in the 1000 item list, we don’t have to create 1000 different views, we can repopulate and reuse the same set of views with different data depending on the position in the list. This can be a major performance boost as we are saving tons of memory for a large list. This is called View-Recycling and is a major building block for RecyclerView which we will see in a while and here is a representation of how View Recycling works.

graph

Now, we have recycled the views by a simple null check and saved memory but if we look inside the getView() function we can see that we are trying to find the references to the child views by doing findViewByID() calls.

Depending upon how many child views there are, in my example code there are 4 so** for each item in the list, we are** calling findViewByID() 4 times.

Hence for a 1000 item list, there will be 4000 findViewByID() calls even though we have optimized the way in which the rowItem views are initialized. To help fix this problem for large lists, the ViewHolder pattern comes into play.

ViewHolder Pattern in Android

The ViewHolder pattern was created in Android to improve the performance of ListViews (and other AdapterView subclasses) by reducing the number of calls to findViewById().

When a ListView is scrolled, new views are created as needed to display the list items that become visible. Each time a new view is created, the findViewById() method is called to find the views in the layout and create references to them. This process can be slow, especially for complex layouts with many views while also at the same time the instantiated views references are kept in memory for the whole list which can grow directly proportional to the size of the list you are rendering.

The ViewHolder pattern addresses this performance issue by caching references to the views in the layout. When a view is recycled (i.e., reused for a different list item), the ViewHolder can simply update the views with new data, rather than having to call findViewById() again.

Implementing ViewHolder Pattern in our ListView

Lets implement our ViewHolder class inside the MyListAdapter class.

MyListAdapter class

Code Snippet

With the above mentioned changes, we have created a structure to:

  • Reuse the View for each item in the list instead of creating new ones for each item in the list.
  • Reduce the number of findViewByID() calls which in case of complex layouts and large number of items in the lists can take down the performance of the app significantly.

These are the two key things which are provided as a structure to the developers with RecyclerView apart from other features of customisations in RecyclerView.

Drawbacks of Using ListView

  • Inefficient scrolling due to inefficient memory usage out of the box
  • Lesser flexibility to customize how the list items should be positioned.
  • Can only implement a vertically scrolling list.
  • Implementing animations can be hard and complex out of the box
  • Only offers notifyDataSetChanged() which is an inefficient way to handle updates.

RecyclerView

RecyclerView was introduced in Android 5.0 Lollipop as an upgrade over the ListView. It is designed to be more flexible and efficient, allowing developers to create complex layouts with minimal effort.

It uses "recycling" out of the box which we have seen above. It also has more flexible layout options, allowing you to create different types of lists with ease and also provides various methods to handle data set changes efficiently.

Let’s use RecyclerView instead of ListView in our above implementation.

RecyclerView

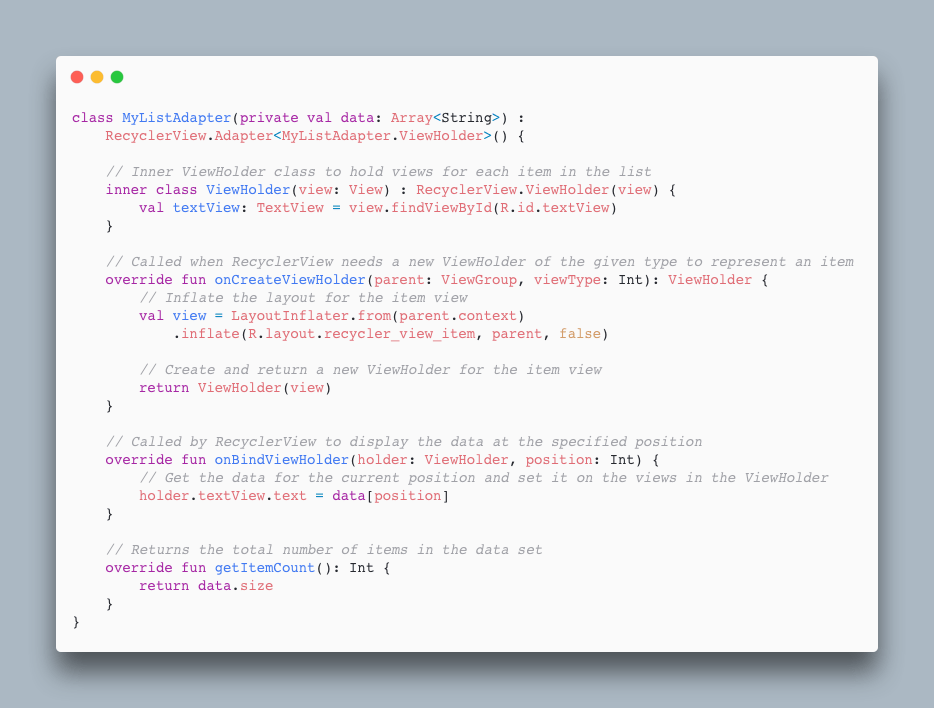
As you can see there are multiple functions to override instead of just one getView() function of ArrayAdapter which makes the implementation of RecyclerViews not as beginner friendly as compared to ListView. It can also feel like an overkill implementation for the simplest of the lists in Android.

Benefits of Using RecyclerView

  • The major advantage of RecyclerView is its performance. It uses a view holder pattern out of the box, which reuses views from the RecyclerView pool and prevents the need to constantly inflate or create new views. This reduces the memory consumption of displaying a long list compared to ListViews and hence improves performance.

  • With LayoutManager you can define how you want your list to be laid out, linearly, in a grid, horizontally, vertically rather than just vertically in a ListView.

  • RecyclerView also offers a lot of customisation features over listview that make it easier to work with. For example, It supports drag and drop functionality, rearrange items in the list, item swiping gestures features like deleting or archiving items in the list. Below is an attached example code on how easy it is to extend the functionality to add swiping gestures.

// Set up the RecyclerView with a LinearLayoutManager and an adapter
recyclerView.layoutManager = LinearLayoutManager(this)
adapter = ItemAdapter(createItemList())
recyclerView.adapter = adapter

// Add support for drag and drop
val itemTouchHelper = ItemTouchHelper(object : ItemTouchHelper.Callback() {
override fun getMovementFlags(
recyclerView: RecyclerView,
viewHolder: RecyclerView.ViewHolder
): Int {
// Set the movement flags for drag and drop and swipe-to-dismiss
val dragFlags = ItemTouchHelper.UP or ItemTouchHelper.DOWN
val swipeFlags = ItemTouchHelper.START or ItemTouchHelper.END
return makeMovementFlags(dragFlags, swipeFlags)
}

override fun onMove(
recyclerView: RecyclerView,
viewHolder: RecyclerView.ViewHolder,
target: RecyclerView.ViewHolder
): Boolean {
// Swap the items in the adapter when dragged and dropped
adapter.swapItems(viewHolder.adapterPosition, target.adapterPosition)
return true
}

override fun onSwiped(viewHolder: RecyclerView.ViewHolder, direction: Int) {
// Remove the item from the adapter when swiped to dismiss
adapter.removeItem(viewHolder.adapterPosition)
}
})

// Attach the ItemTouchHelper to the RecyclerView
itemTouchHelper.attachToRecyclerView(recyclerView)

  • Implementing animations is pretty simple in RecyclerView and can be done by simply setting the itemAnimator as shown below:
val itemAnimator: RecyclerView.ItemAnimator = DefaultItemAnimator()
recyclerView.itemAnimator = itemAnimator

Best Practices to keep in mind with RecyclerView

To ensure the best results, developers should follow best practices when working with RecyclerView and ListView. For example:

  • Use item animations sparingly, as too many animations can lead to janky performance.

  • To update the UI with a RecyclerView, we can use the notifyItemInserted(), notifyItemRemoved() or even notifyItemChanged() methods, which tells the adapter that the data has changed and the list needs to be refreshed, but if not used responsibly can lead to redundant rebuilds of the list and introduce unwanted bugs.

Conclusion

In this article, we started off with implementing a simple list using ListView and made changes to it which don’t come out of the box with ListView to make it more memory efficient, like View Recycling and View Holder pattern, only to realize the limitations of customizations available in ListView.

Then we implemented the same list with RecyclerView which enforces developers to implement the features of View Recycling and ViewHolder pattern out of the box making them efficient, customizable and performant out of the box explaining their popularity as a solution in the Android Community.

· 8 min read
Nikita Lazarev-Zubov

ConstraintLayout

Even though Jetpack Compose has become the recommended tool for building Android applications’ UI, the vast majority of applications still use traditional layout modes and their XML-based syntax. Android SDK provides us with many layout options. Some are already obsolete, but others remain popular and are widely used, including the newest offering: ConstraintLayout. Before we assess which options are actually effective, let’s briefly review the basics of the Android layout system.

Android Layout Basics

The fundamental building block of UI in Android is the View class, which represents a rectangular area on the screen. It’s also a base class for specific views like Button and ImageView. On top of them are ViewGroups—special Views that are used as containers for other views. ViewGroup is also the base class for various layout classes.

Android offers multiple layout options, including RelativeLayout, FrameLayout, and LinearLayout. However, back in 2018, ConstraintLayout was introduced, presumably, to rule them all. But does it live up to the hype? Let’s find out by looking at an example.

Android Layout Example

Let’s pretend ConstraintLayout doesn’t exist and build a UI for the login screen of our Layout Guru application using only pre-ConstraintLayout options.

Old Ways

Here’s what we’re going to build:

Layout Guru’s login screen

Figure 1: Layout Guru’s login screen

The view that we’re going to implement consists of two pairs of input fields and text labels centered on the screen. According to specification, each field takes up 60% of the screen width, and the text occupies the rest of the width. The application’s logo is centered above the fields, and uses 70% of the width. The “Sign In” button is positioned directly below the bottom input field and aligned to the right side of the screen.

Let’s start with one of the input text fields. The most straightforward way to implement it is with a horizontal LinearLayout. The layout_weight attribute will help us to set the desired width distribution. Here’s the layout’s XML:

    <LinearLayout 
xmlns:android="http://schemas.android.com/apk/res/android"
android:orientation="horizontal"
android:layout_width="match_parent"
android:layout_height="wrap_content"
android:weightSum="1">

<TextView
android:id="@+id/emailInputTitle"
android:layout_width="0dp"
android:layout_height="wrap_content"
android:layout_weight="0.4"
android:text="@string/email_address"
android:textColor="@color/black" />

<EditText
android:id="@+id/emailInputField"
android:layout_width="0dp"
android:layout_height="wrap_content"
android:layout_weight="0.6"
android:inputType="textEmailAddress"
android:autofillHints="Email"
android:hint="@string/email_address"
android:backgroundTint="@color/black" />

</LinearLayout>

The second input is similar, but uses a different inputType’s value. Both inputs can be wrapped with a vertical LinearLayout:

    <LinearLayout 
xmlns:android="http://schemas.android.com/apk/res/android"
android:orientation="vertical"
android:layout_width="match_parent"
android:layout_height="wrap_content">

<include layout="@layout/email_field"/>
<include layout="@layout/password_field" />

</LinearLayout>

Finally, let’s combine the input fields with the rest of UI elements in a single RelativeLayout. For the first step of this process, we can add inputs to the layout and center them:

    <include
layout="@layout/login_form"
android:id="@+id/login_form"
android:layout_width="match_parent"
android:layout_height="wrap_content"
android:layout_centerInParent="true" />

Then, we can add the “Sign In” button below the inputs, and align it to the right side of the screen:

    <Button
style="?android:attr/borderlessButtonStyle"
android:layout_width="wrap_content"
android:layout_height="wrap_content"
android:layout_marginTop="10dp"
android:layout_below="@+id/login_form"
android:layout_alignParentEnd="true"
android:backgroundTint="@color/white"
android:text="@string/sign_in"
android:textColor="@color/black" />

The trickiest part, though, is the logo. Putting it above the inputs is easy, but there’s no straightforward way to make it take only 70% of the width of the screen using RelativeLayout. One way to achieve this is to put the image inside another LinearLayout, which has a convenient way of manipulating its child views’ weight (but doesn’t provide a way to position elements relative to each other):

    <LinearLayout
android:orientation="horizontal"
android:layout_width="wrap_content"
android:layout_height="wrap_content"
android:gravity="center_horizontal"
android:layout_above="@+id/login_form"
android:weightSum="1">

<ImageView
android:layout_width="0dp"
android:layout_height="wrap_content"
android:layout_weight="0.7"
android:src="@drawable/logo"
android:contentDescription="@string/layout_guru" />

</LinearLayout>

And here’s an outline of the resulting XML:

    <RelativeLayout 
xmlns:android="http://schemas.android.com/apk/res/android"
android:layout_width="match_parent"
android:layout_height="match_parent"
android:layout_marginStart="10dp"
android:layout_marginEnd="10dp">

<LinearLayout
<!--...-->>
<ImageView
<!--...-->>
</LinearLayout>

<include
<!--...-->>

<Button
<!--...-->>

</RelativeLayout>

Looking at the result, we can already draw one important conclusion: even simple pieces of UI require a lot of code and mixing-and-matching of various layout types.

ConstraintLayout

Let’s look at how the same screen could be implemented using ConstraintLayout.

This time, let’s start by putting two EditTexts and two TextViews in the center of the screen, and placing them relative to one another exactly as we did before using a combination of multiple LinearLayouts. Because the text input fields are higher than their text labels, we constrain the top one to the parent’s top, the bottom one to the parent’s bottom, and combine them into a packed chain. This will make them centered vertically as a whole. Then, the text fields can be aligned to the inputs’ baselines. This is the corresponding XML snippet:

    <TextView
android:id="@+id/emailInputTitle"
android:layout_width="0dp"
android:layout_height="wrap_content"
android:text="@string/email_address"
android:textColor="@color/black"
app:layout_constraintBaseline_toBaselineOf="@id/emailInputField"
app:layout_constraintStart_toStartOf="parent"
app:layout_constraintWidth_percent="0.4" />

<EditText
android:id="@+id/emailInputField"
android:layout_width="0dp"
android:layout_height="wrap_content"
android:autofillHints="Email"
android:backgroundTint="@color/black"
android:hint="@string/email_address"
android:inputType="textEmailAddress"
app:layout_constraintTop_toTopOf="parent"
app:layout_constraintBottom_toTopOf="@+id/passwordInputField"
app:layout_constraintStart_toEndOf="@id/emailInputTitle"
app:layout_constraintVertical_chainStyle="packed"
app:layout_constraintEnd_toEndOf="parent"
app:layout_constraintWidth_percent="0.6" />

<TextView
android:id="@+id/passwordInputTitle"
android:layout_width="0dp"
android:layout_height="wrap_content"
android:text="@string/password"
android:textColor="@color/black"
app:layout_constraintBaseline_toBaselineOf="@id/passwordInputField"
app:layout_constraintStart_toStartOf="parent"
app:layout_constraintWidth_percent="0.4" />

<EditText
android:id="@+id/passwordInputField"
android:layout_width="0dp"
android:layout_height="wrap_content"
android:autofillHints="Password"
android:backgroundTint="@color/black"
android:hint="@string/password"
android:inputType="textPassword"
app:layout_constraintTop_toBottomOf="@+id/emailInputField"
app:layout_constraintBottom_toBottomOf="parent"
app:layout_constraintStart_toEndOf="@id/passwordInputTitle"
app:layout_constraintEnd_toEndOf="parent"
app:layout_constraintWidth_percent="0.6" />

The rest of the work is fairly straightforward. The image can be pinned to the top of the parent and to the top of the topmost input field. The relative width can be be provided using the layout_constraintWidth_percent attribute:

    <ImageView
android:layout_width="0dp"
android:layout_height="wrap_content"
android:src="@drawable/logo"
android:contentDescription="@string/layout_guru"
app:layout_constraintTop_toTopOf="parent"
app:layout_constraintBottom_toTopOf="@id/emailInputField"
app:layout_constraintStart_toStartOf="parent"
app:layout_constraintEnd_toEndOf="parent"
app:layout_constraintWidth_percent="0.7" />

Positioning of the Button is simple as well:

    <Button
style="?android:attr/borderlessButtonStyle"
android:layout_width="wrap_content"
android:layout_height="wrap_content"
android:layout_marginTop="10dp"
android:backgroundTint="@color/white"
android:text="@string/sign_in"
android:textColor="@color/black"
app:layout_constraintTop_toBottomOf="@id/passwordInputField"
app:layout_constraintEnd_toEndOf="parent"/>

An outline of the resulting layout is self explanatory:

    <androidx.constraintlayout.widget.ConstraintLayout 
xmlns:android="http://schemas.android.com/apk/res/android"
xmlns:app="http://schemas.android.com/apk/res-auto"
android:layout_width="match_parent"
android:layout_height="match_parent"
android:layout_marginStart="10dp"
android:layout_marginEnd="10dp">

<ImageView
<!--...-->>

<TextView
<!--...-->>
<EditText
<!--...-->>

<TextView
<!--...-->>
<EditText
<!--...-->>

<Button
<!--...-->>

</androidx.constraintlayout.widget.ConstraintLayout>

So, coming back to the original question—does ConstraintLayout replace other layouts? No doubt one can build a complicated UI by means of ConstraintLayout alone. Although, looking at the resulting code, some might prefer traditional options as being (arguably) easier to modularize and reuse, relatively complicated UI can be built simpler and using less code. The more sophisticated the UI, the more evident the statement becomes. This only confirms the conclusion from the previous section.

Another advantage of ConstraintLayout is that it’s more straightforward when building UI by means of the visual design tools of the Android Studio instead of coding it in XML.

Before we jump to conclusions, though, let’s look at another important metric: performance.

Layout Rendering Performance

Android provides us with useful developer tools that can help to measure rendering efficiency, one of which is Profile GPU Rendering. The output of the tool for each layout implementation will look something like this:

GPU Rendering GPU Rendering ConstraintLayout

Figure 2: Profile GPU Rendering output for the two layouts, with ConstraintLayout on the right

The ConstraintLayout option, on the right, is slightly shorter on the horizontal axis, and has fewer red spikes, which translates to less CPU overhead.

Let’s also look at the output from another tool—Debug GPU Overdraw:

GPU Overdraw GPU Overdraw ConstraintLayout

Figure 3: Debug GPU Overdraw output for the two layouts, with ConstraintLayout again on the right

The results are, again, very similar, but the RelativeLyout/LinearLayout version (on the left) has more purple areas—which mean areas that were redrawn once—and even one small green area indicating two redraws.

Although the difference between two layouts appears insignificant at first glance, in real-world situations with a more complicated user interface, the penalty can easily become noticeable and result in choppy animations and visible delays. Let’s explore why that’s the case.

Double Taxation

The phenomenon of slower rendering of nested layouts is widely referred to in the Android community as double taxation. While the system renders the view hierarchy, it iterates over the elements multiple times before finalizing the size and position of each view: At the first pass, the layout system calculates each child’s position and size based on the child’s layout After that, the system makes another iteration, taking into account the layout parameters of the parent layout. The more levels of hierarchy, the bigger the overhead. The problem applies to RelativeLayout, horizontal LinearLayout, and GridLayout.

If performance problems with rendering begin to occur, one of the first things to try is eliminating nested layouts wherever possible. Another potential way to experience an improvement is to switch to ConstraintLayout, which is cheaper in terms of underlying calculation because of its “flat” nature.

Conclusion

While choosing between the newer ConstraintLayout and other, more “traditional” alternatives, several factors should be considered. First of all, it's true that ConstraintLayout can turn into a universal solution for any type of UI. Additionally, for truly complicated user interfaces, ConstraintLayout can be a more lightweight and performant solution. On the other hand, in very simple cases where LinearLayout would provide a more straightforward solution, ConstraintLayout might be overkill.

Logging

If you need to log information related to rendering, Android has an interface called ViewTreeObserver.OnDrawListener that can be easily put to use together with a system to collect and store your log messages remotely, such as Shipbook.